Fixing your broken feet, in six simple steps!

Hyperpronation…sounds like an economic disaster or a Fortnite move, right?
Well, you’d be wrong on both counts, because it’s actually a pretty common foot ailment.
Hyperpronation is formally defined as excess pronation, or overpronation that causes your foot to roll toward the inside, causing your arch to flatten out, as you walk. An easy way to tell if you suffer from hyperpronation (or simply “overpronation”) is your shoes will often show excess wear on the inside portion of the sole.
Adults can suffer from hyperpronation for a multitude of reasons:
- Being overweight or obese
- Inflammation or damage to the tendon in your arch
- The result of high impact sports, like running and basketball
- Suffering an injury to your foot or ankle that affects the alignment of the joints in your foot.
- Arthritis, which can affect the cartilage and ligaments within the foot
- Diabetes, which can cause nerve problems that prevent you from feeling the effects of a falling arch.
Now that we know what causes it, how does arch flattening and the overstretching of muscles, tendons and ligaments manifest itself?
- Shin splints
- Heel spurs
- Ankle Sprains
- Achilles tendinitis
- Plantar fasciitis
If you’re thinking, yup, this sounds like me, then you may want to see a doctor to figure out your best course of action. However, if you’d like to first see what you can do to improve your condition, here are 6 great exercises to help alleviate your symptoms…and the best part is, they only take 15-20 minutes.
To Start:
For each of the exercises below, we recommend 3 sets of 12 repetitions; ideally repeating this foot regiment, 3 times per week.
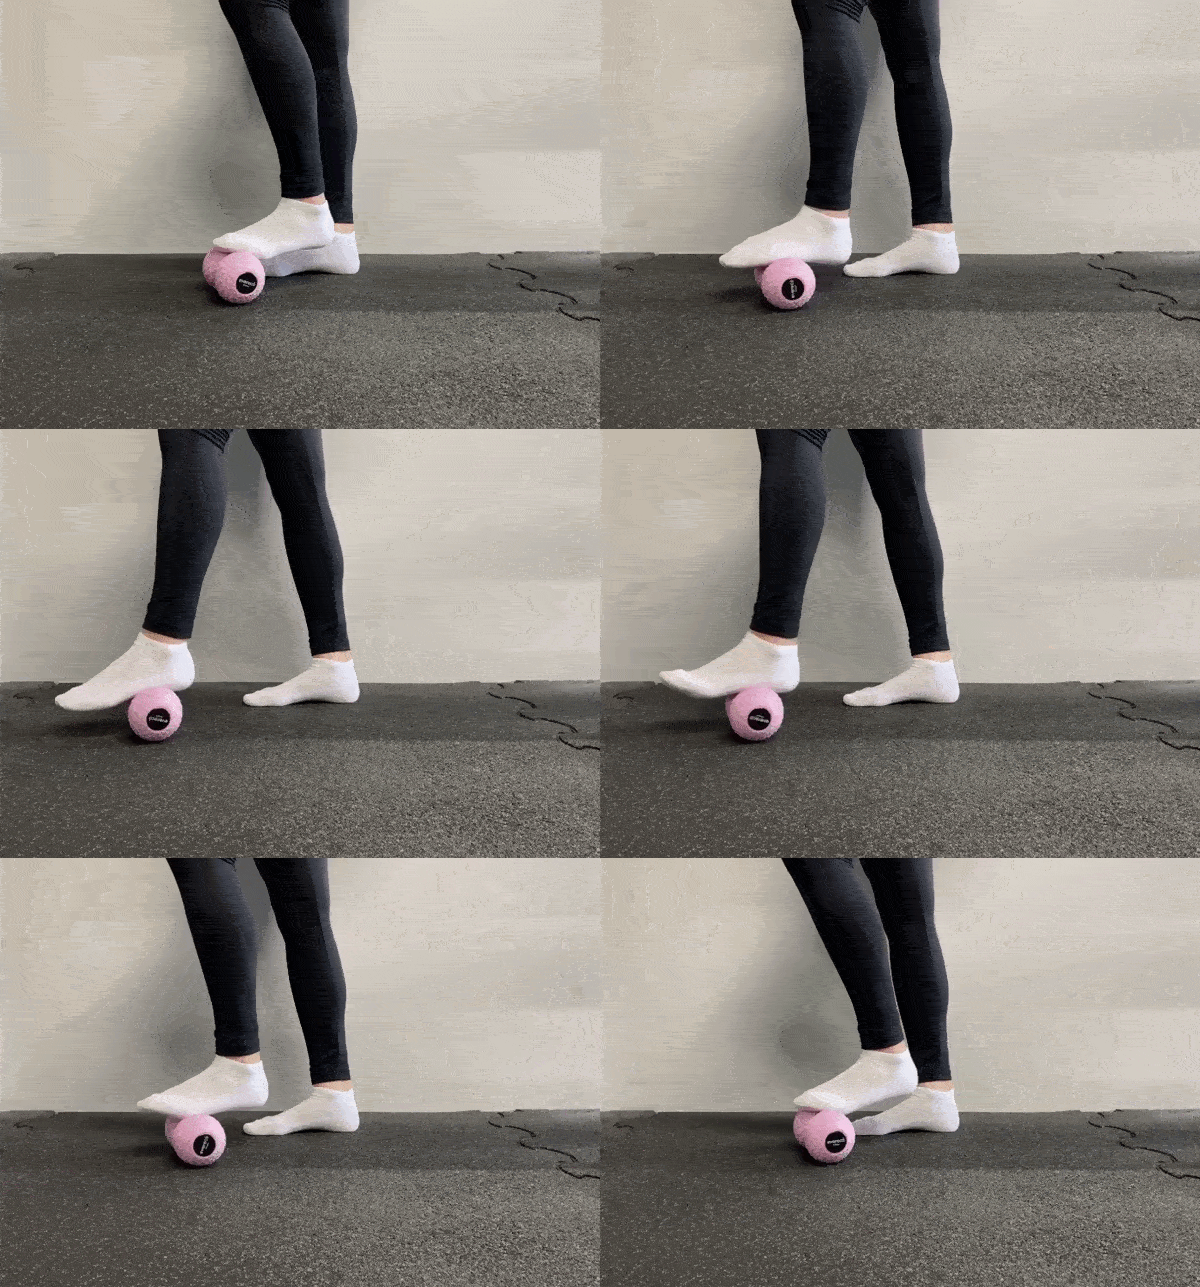
Exercise 1. Foot massage with roller (i.e. Plantar fascia massage)
First off, you’ll need a massage roller, which looks like a thin, interspersed rolling pin. These are quite common, so you can find them in sport specialty shops, discount stores (i.e. Marshalls, TJMaxx) or, of course, online.
How to use it?
Simply put the roller on the floor, and smoothly move your foot back and forth, from heel to toe. Repeat the same movement with both feet.
The results:
• better blood flow;
• light warm-up for following exercises.
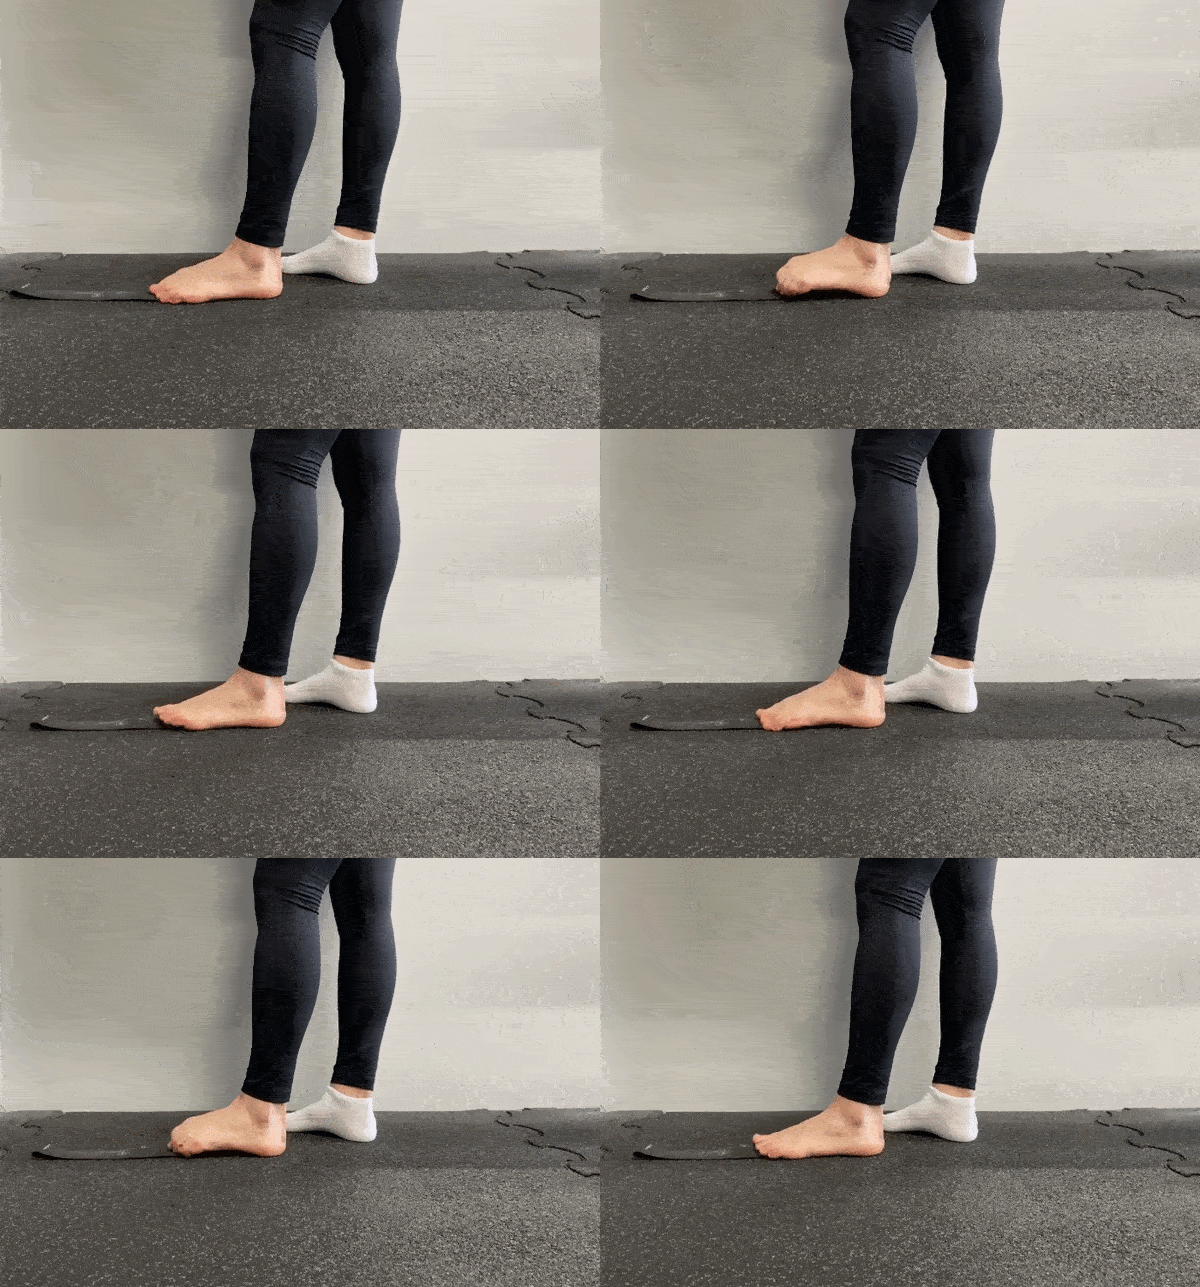
Exercise 2. “Crawling toes”
Sit in a chair, fix your heels tight to the floor, and move the foot ahead with the help of toes…so in essence, your foot “crawls” ahead only using your toes.
Once you've gone forward about 12 inches, move your foot in the opposite direction, crawling backward.
Repeat the same exercise with your other foot.
The results:
• strengthening the vermiform muscles in your foot, which are especially sensitive to those who wear mid-to-high heeled shoes.
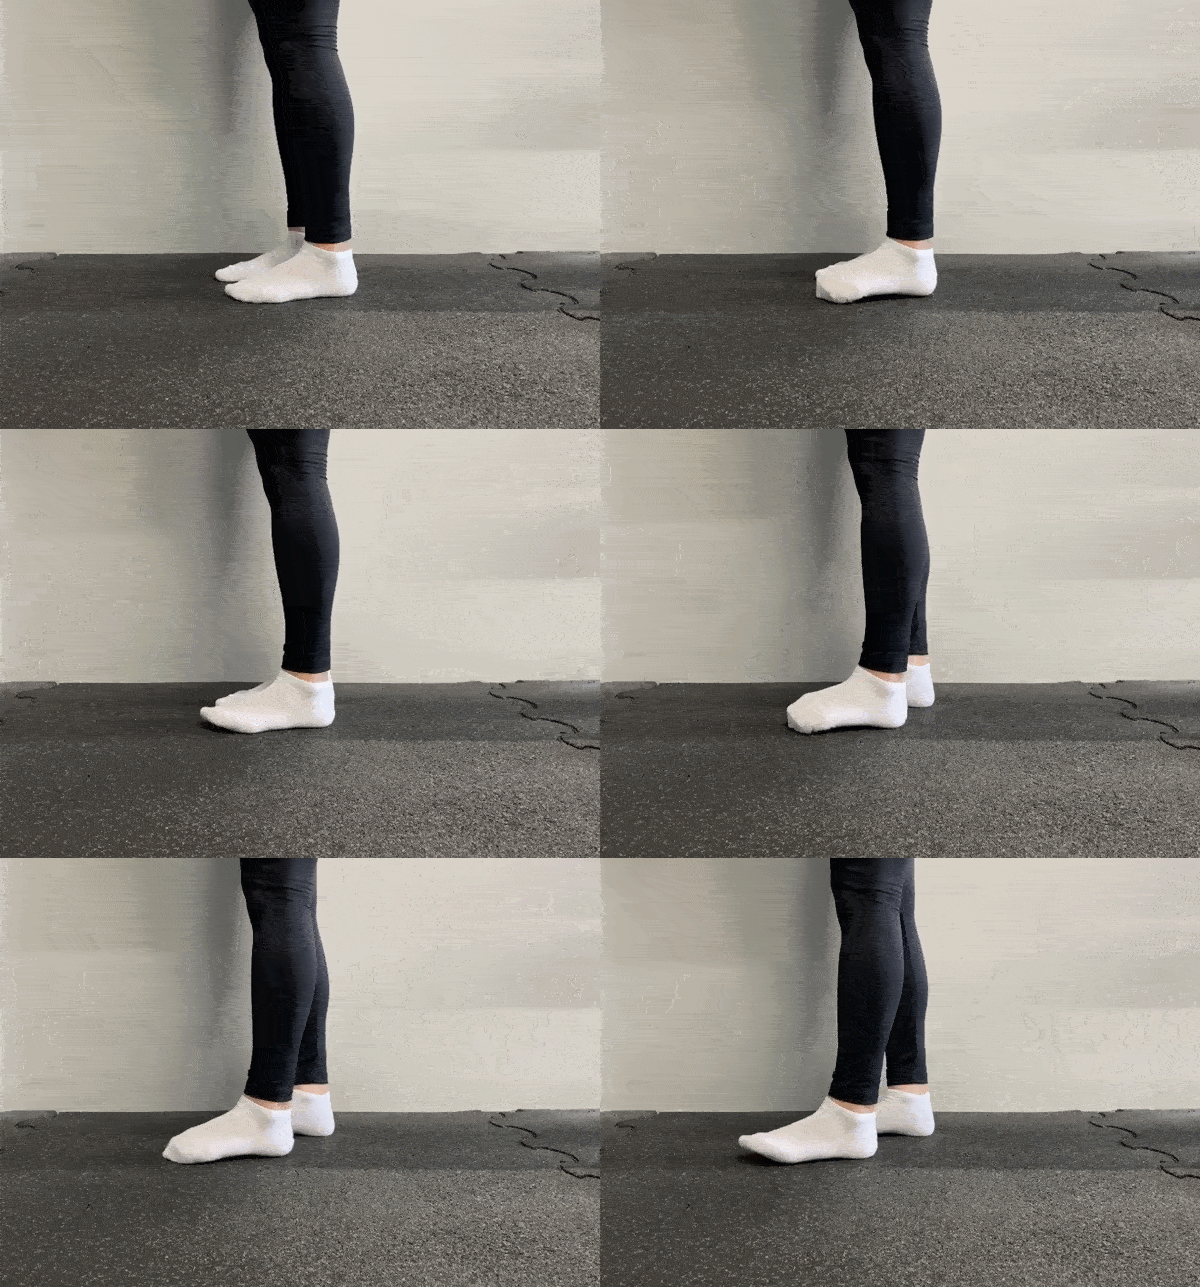
Exercise 3. Tip-toe position (i.e. calf raises)
The ideal motion is to go from flat-footed, to the tip of your toes, and then back on the floor; up and down (3 sets, 12 reps each foot). If you are new to this exercise, start by using both feet simultaneously. Try to perform this motion slowly.
Once you feel that using both feet is too easy, you can try the more complicated variant of this exercise which is to do the motion with one foot at a time. It may be necessary to rest your hands on something, for balance.
The results:
• strengthening the calf muscle, which positively influences healthy foot functionality and health.
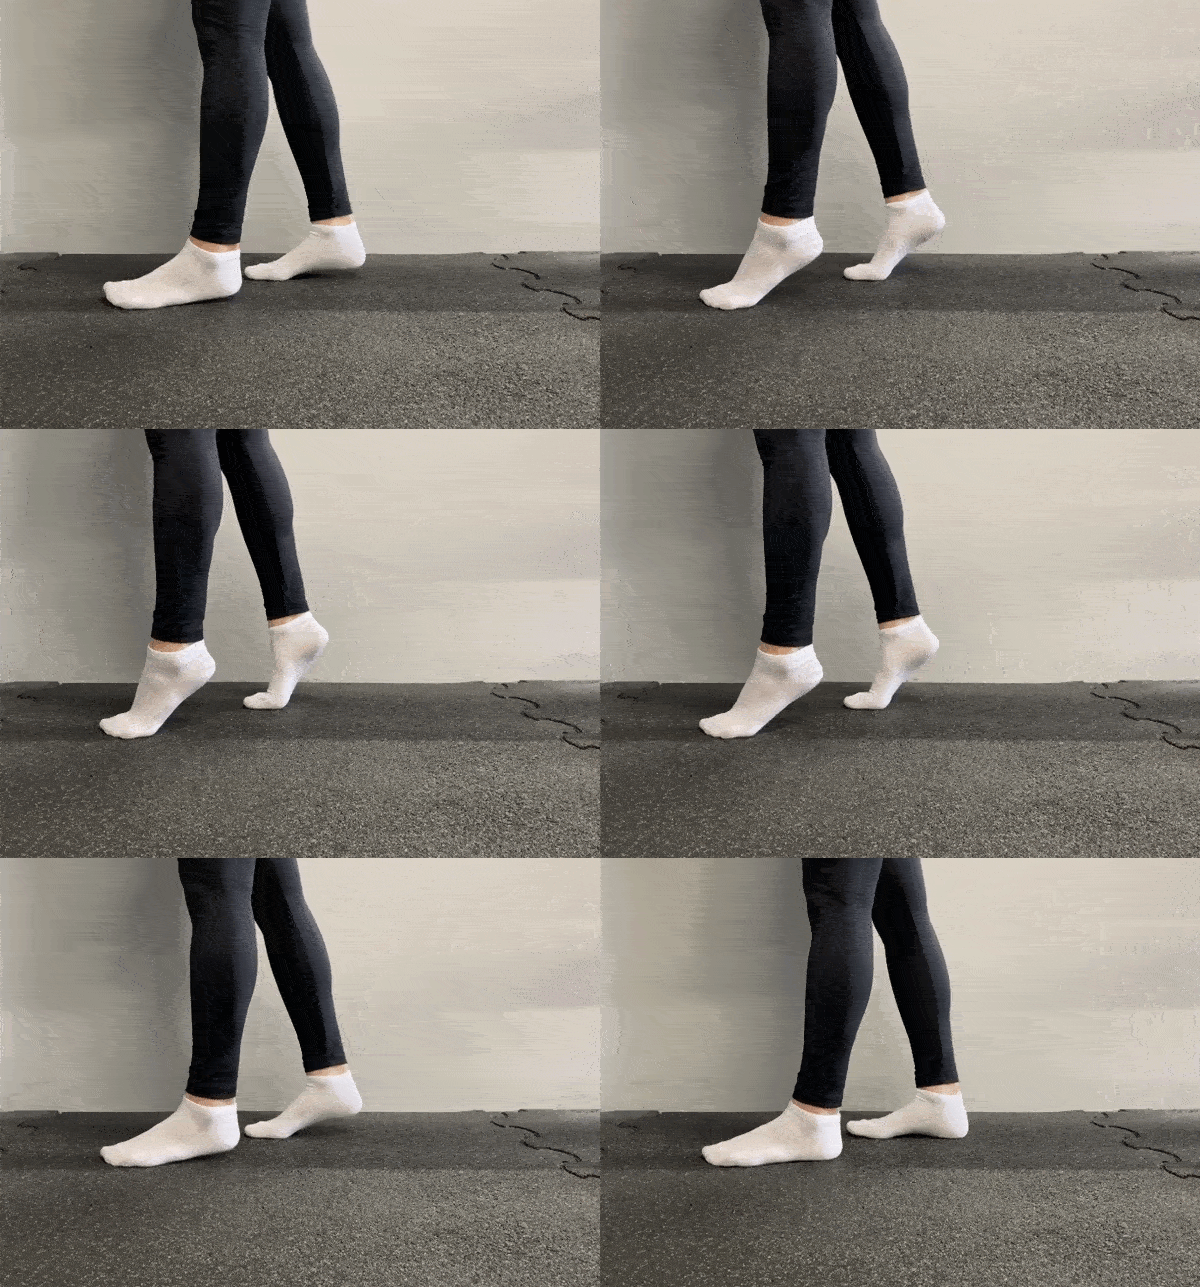
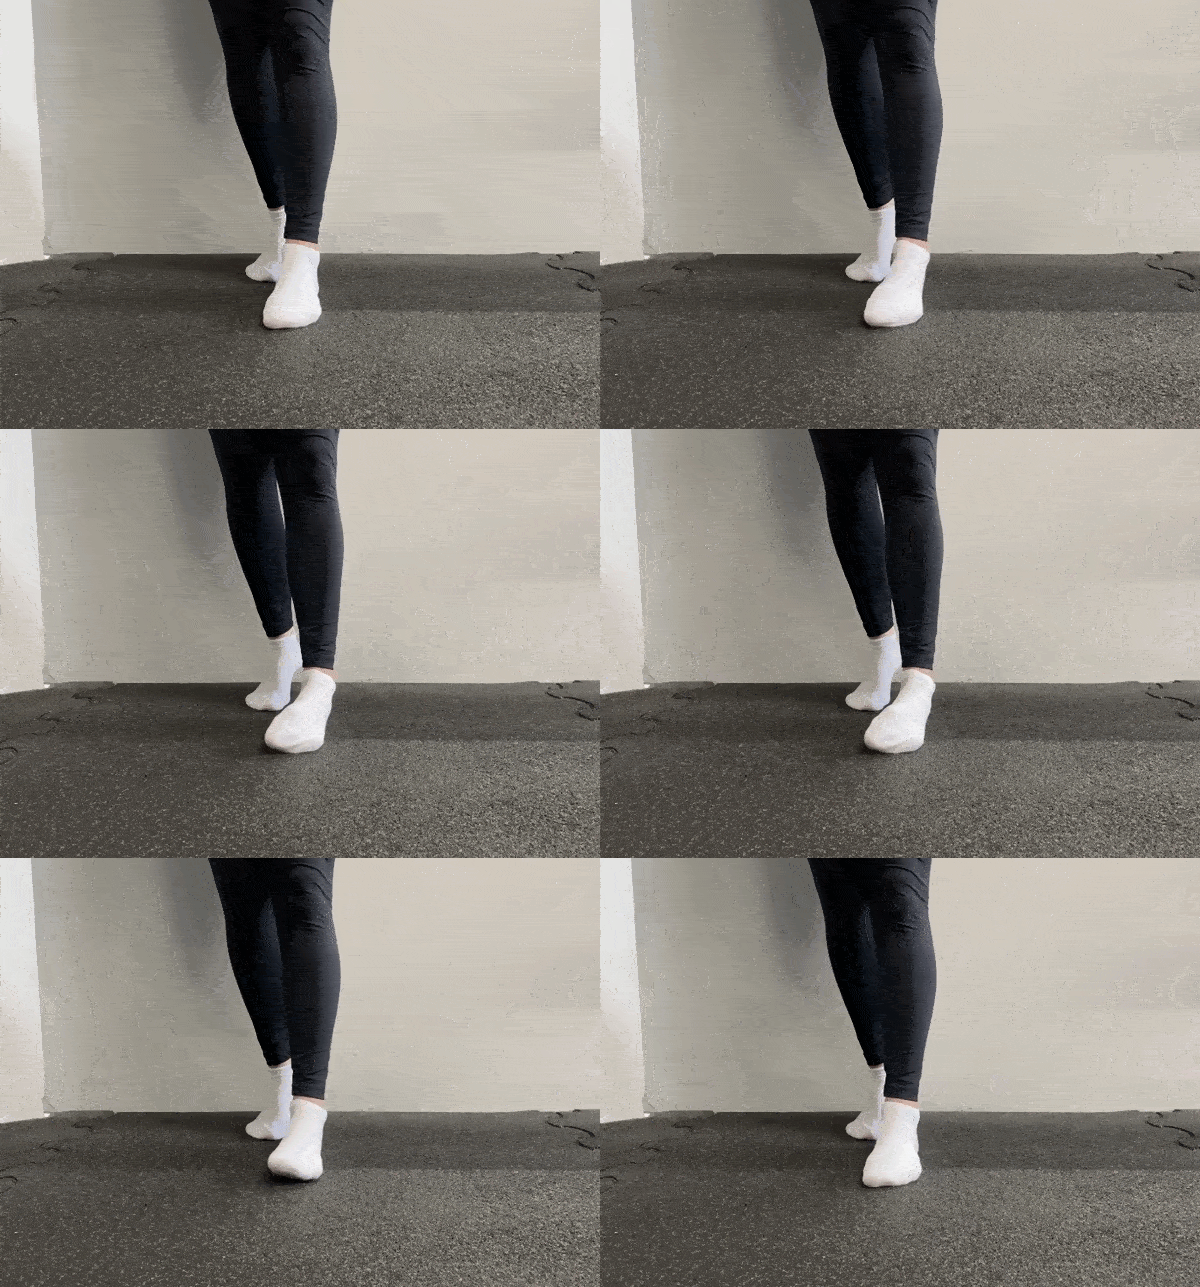
Exercise 4. Rolling into and resting on the outer foot edge
For this one, keep one foot flat on the floor and the other foot slightly tip-toed. Now, raise the inner edge of the foot, rolling onto the outer edge of one foot and rest there for a second or two (while the other foot is up on the toes, to put more weight on the outside of the other foot).
Change the feet and repeat all the movements with the opposite foot. A the outside toe should stay in contact with the floor and the foot should not fall overly sideways.
The results:
• this exercise stretches and strengthens the posterior tibial muscle responsible for the flexion of the foot. By doing this, you’re also strengthening the ankle overall, guarding against unnecessary ankle sprains.
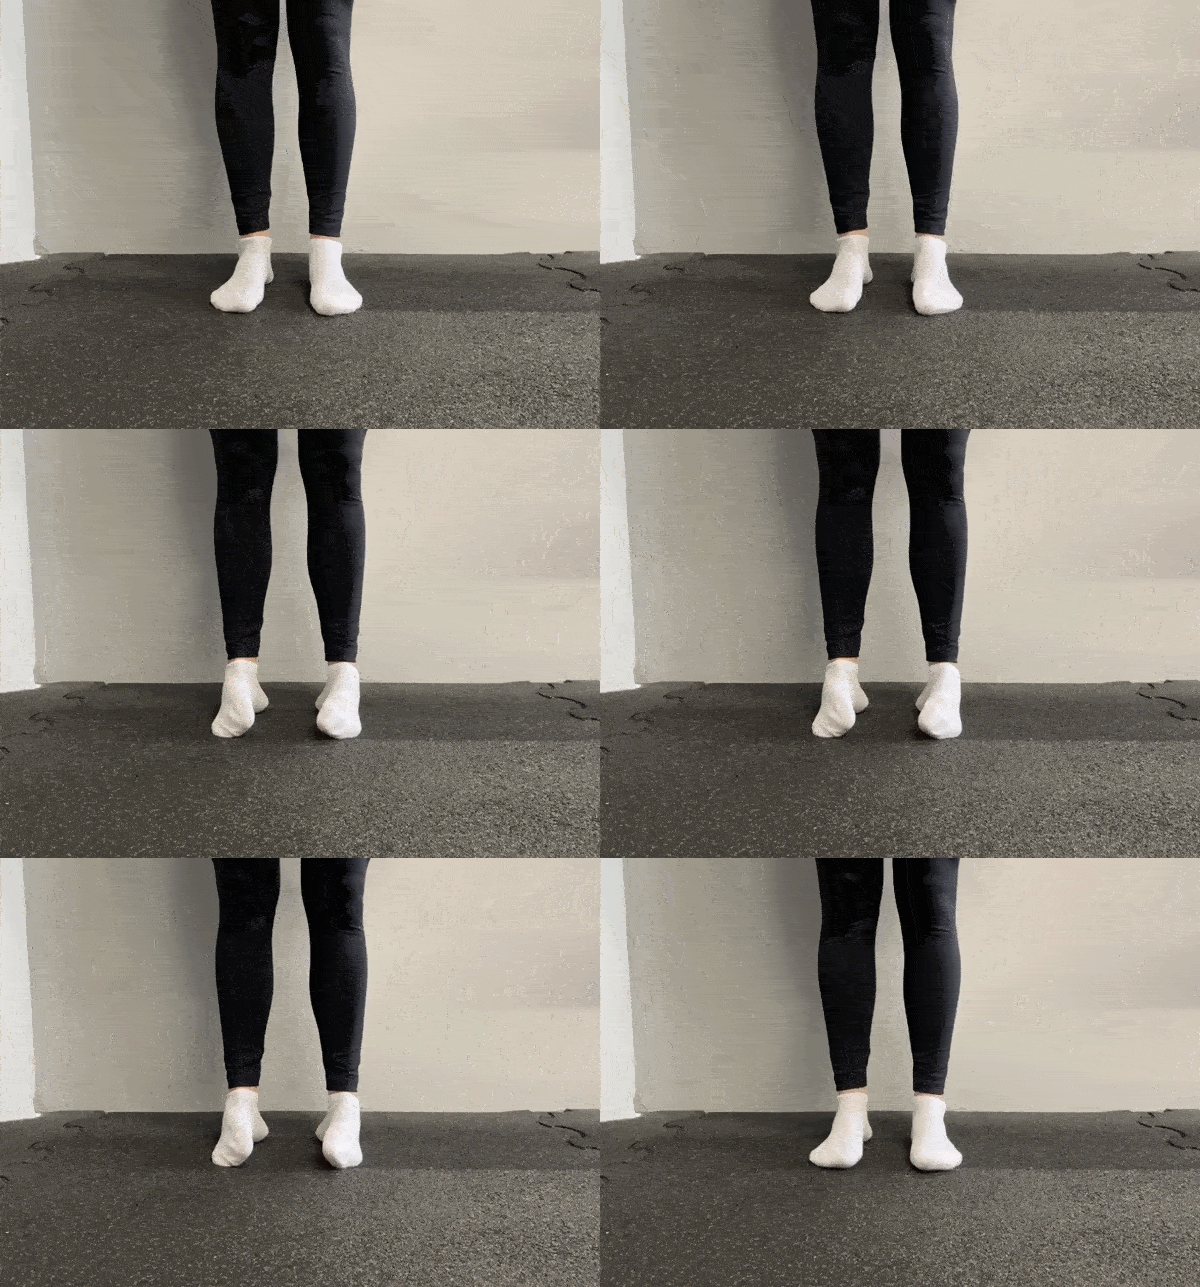
Exercise 5. Raising the foot arch
Keep both feet flatly on the floor and consciously raise both foot arches, the inside of the sole that does not contact the floor and where the foot lifts.
Perform this exercise with both feet simultaneously, focusing on keep both big toes fixed tight to the floor (do not move them).
The results:
• you will strengthen the posterior tibial muscle (which runs up the back of your leg, and connects to the achilles tendon, at your ankle).
Note: do not worry if you feel some pain in the posterior tibial muscle after this exercise, as we do not typically use this muscle in everyday life.
Exercise 6. "Grabbing the towel"
For this final exercise, put a towel on the floor and try to “grab” it with the toes of one foot, as if they were a hand. Grab and release, grab and release until you’ve pulled the entire towel to you. Do the same exercise with the opposite foot.
The results:
- this exercise strengthens the muscle ligaments within the plantar surface of your feet.
